Well,here's the card that I showed you last weekend,and hopefully this post will show you how I made it.

I started of with a 14cm square card base. You then lay the die so that 3 scallops are above the fold.Draw around it using a pencil. I used the second biggest scalloped circle for this card.

Then move the die and draw around it again as shown below. Once you have tried this technique a few times you will probably get away with just marking the place where the circles overlap.

Then with a B cutting pad in place you need to put the card and die on the cutter ready to cut the top fold edge of the card.Place cutting pad A up to where the circles first meet,run this through the cuttlebug. When the die is removed the cut will only be made up to this point.
Roughly trim the edges around the drawn shape so that when the card is repositioned at an angle it feeds through the cutter without folding the edges.
repeat the process twice more remembering to only place the cutting mat up to the point where the circles meet.

You should now be able to remove the surplus card.If the cuts don't quite meet,use scissors or a scary blade (I obviously only use scissors lol) to snip to join the cuts.

I generally use the front of the cut as the back of the card as the slightly embossed edge looks more appealing to the eye. (The area that at the moment has the pencil marks on it).
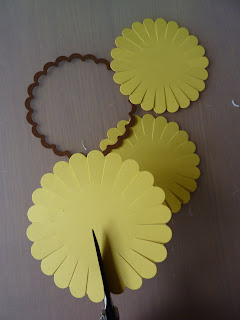
Cut out three scalloped circles and snip into the card as shown.I slightly distress the edges with distress ink.
Cut three circles and shape slightly to raise the centre.
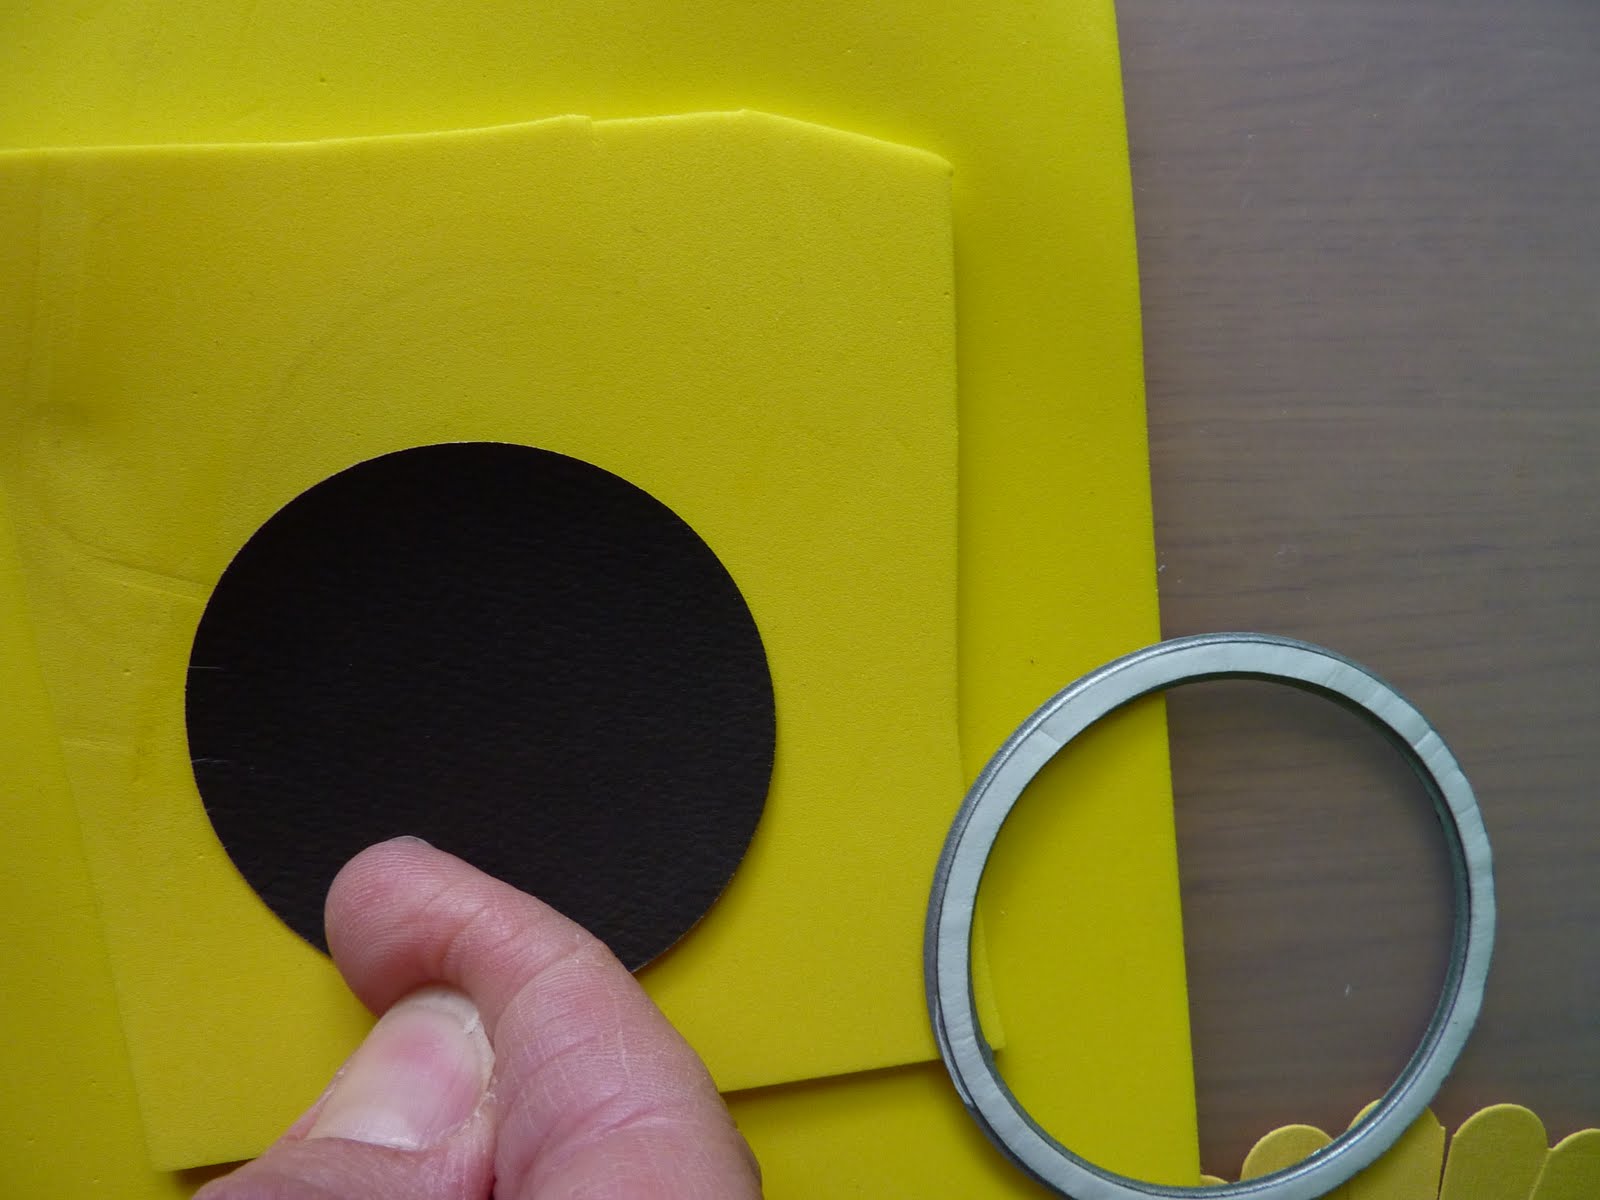
I haven't got a large ball embossing tool but I find that I get a good effect by using a double layer of foam and rubbing quickly and firmly around the edges of the circle using the back of my nail.

The petals look good if they are slightly shaped,(I find that shaping them backward gives a good result)

The card can then be assembled. I find a glue runner gives the best result though I did use wet glue today as I've lost my runner somewhere under the piles of paper etc that cover my desk.
Only put glue on the centre segment of the flowers so that you are able to place the leaves between the flower and the card base afterwards.
I used a big sizzix die to cut the 5 leaves that I used.

And there it is,the finished card,easy once you know how.
WARNING ! I know that this way of using the cutter is probably not recommended but then if I hadn't taken the risk I wouldn't have made this lovely card. My die did slightly bend when I used the cutting pad on only part of it but it did go back into shape again when I cut the Yellow circles. Let me know if you have a go at making one of these cards so that I can visit your blog to have a look,I've also used this technique to make a double heart card and the other bright flower card that I posted a few days ago. Please mention my little blog and link my tutorial if you like.
Can't wait to see what everyone else comes up with.
Thanks for stopping by,
Julie x
P.S
If you are calling by after 1st of September 2010,Please take a moment to check this out as there's a new card challenge that you might like to enter! thanks, Julie.x